
Cup Printing Mistakes – How to Avoid Them
Introduction
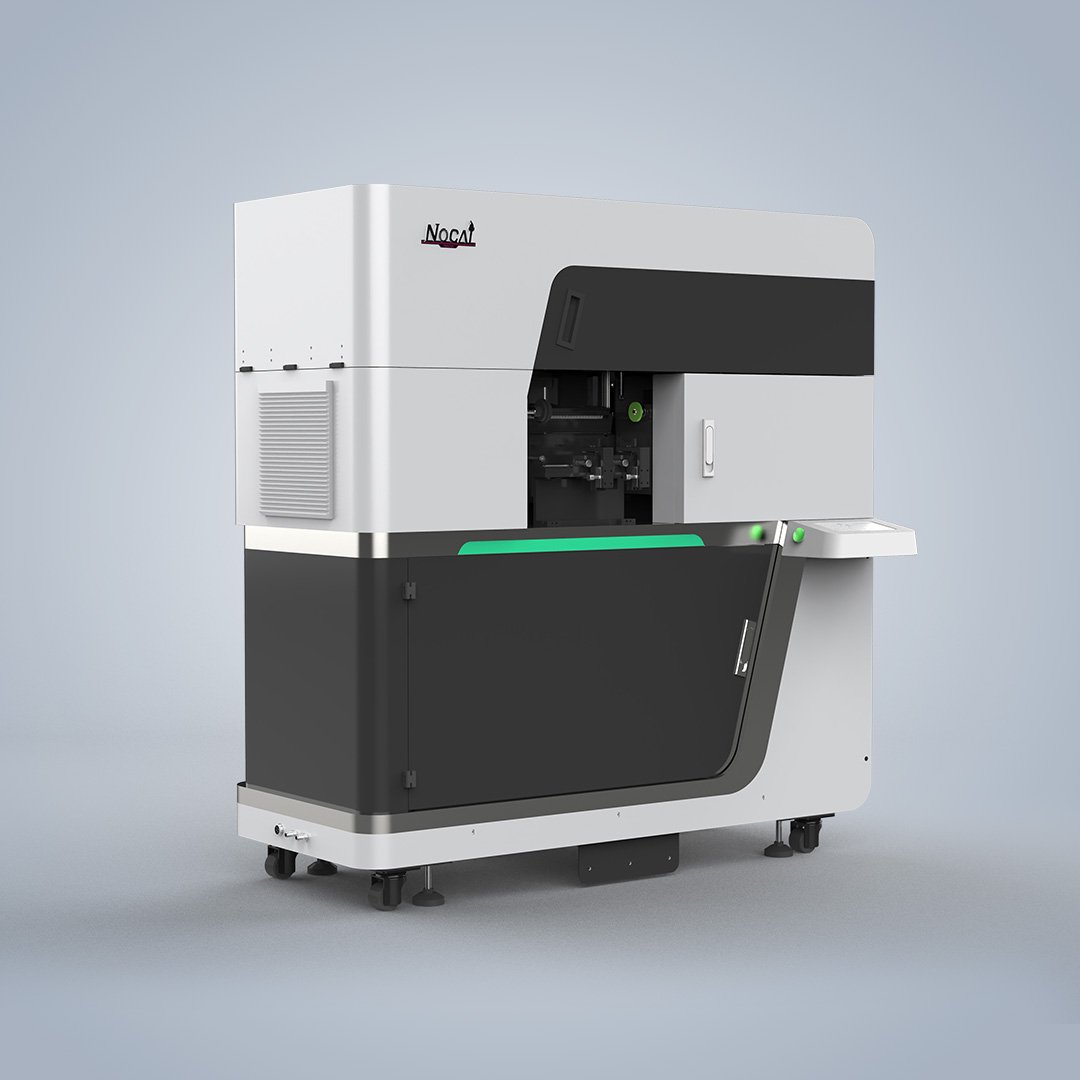
Cup printing mistakes are more common than most people expect, and they lead to wasted cups, ink, and unhappy customers. In practice, small mistakes lead to wasted cups, wasted ink, and unhappy customers. After working with cylindrical UV printers for years, we have seen the same problems come up again and again. Here are the most common ones and how to avoid them.

Mistake 1: Skipping Surface Preparation
Every material needs some level of preparation. Stainless steel may have oil or dust from manufacturing. Glass may have mold-release residue. Plastic may have static that attracts particles. Wiping the cup with isopropyl alcohol before printing takes seconds. Skipping this step causes adhesion failures that only show up after the customer washes the cup. A UV printer for cups cannot fix a dirty surface.
Mistake 2: Ignoring the Fixture
The fixture holds the cup in place during rotation. If it is loose, the cup shifts. If it is too tight, it may warp thin-walled cups. If it is not centered, the design prints off-axis. Check the fixture before every run. For odd-shaped cups, invest in a custom jig. The time you spend on fixturing pays back in consistent output.
Mistake 3: Using the Wrong Ink
Not all UV inks are the same. Some are formulated for rigid substrates, others for flexible materials. Some cure faster, others adhere better to specific plastics. Using the wrong ink for your cup material leads to poor adhesion or cracking. Consult your professional UV printer supplier for ink recommendations based on your exact substrate.
Mistake 4: Overcuring or Undercuring
UV curing is a balance. Undercuring leaves ink wet or soft. Overcuring can make the ink brittle or discolor the substrate. The correct curing power depends on ink type, layer thickness, and substrate. Run a test print and check adhesion before starting a production run. Adjust lamp power and speed until the print passes a scratch test.
Mistake 5: Not Testing Before Production
This is the most expensive mistake. A design that looks good on screen may print differently on a curved surface. Colors shift. Fine lines disappear. Gradients band. Always print a sample on the actual cup before running the full order. Show it to the customer if possible. A sample costs minutes. A rejected order costs days.
Build a Checklist
The best way to avoid these mistakes is a pre-print checklist. Surface cleaned. Fixture checked. Ink correct. Curing power set. Sample approved. It takes five minutes to run through. It saves hours of rework. Most cup printing mistakes are preventable with a simple routine.